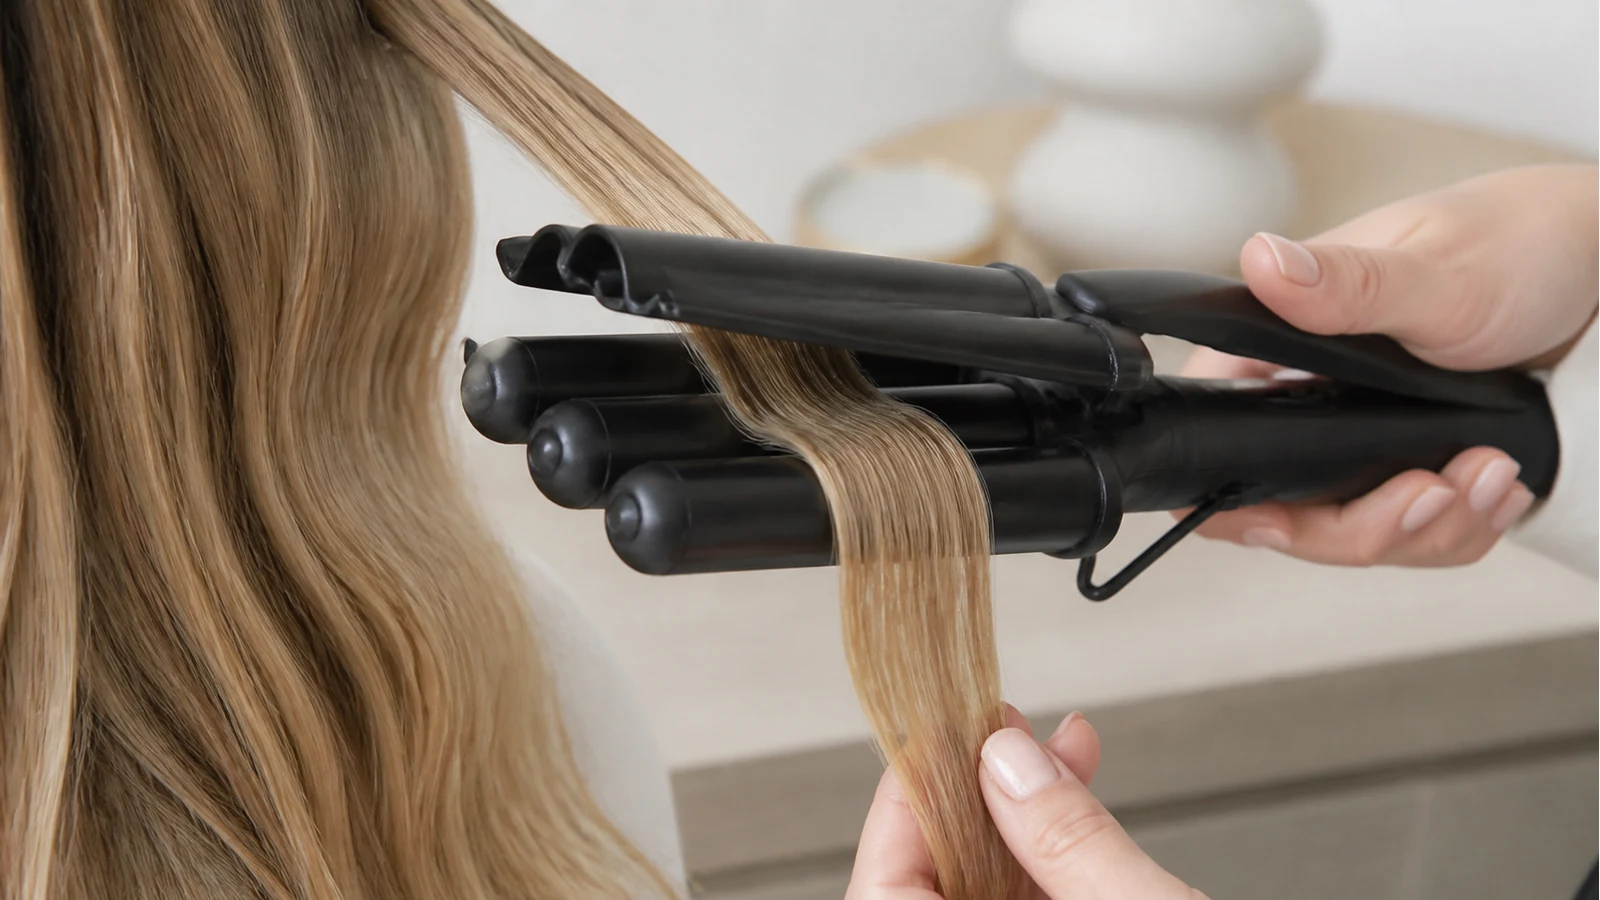
How To Avoid Hair Waver Clamp Marks Uk
Direct answer: clamp marks usually come from starting too high, squeezing too hard, using sections that are too thick, holding too long for your hair type, or brushing before the wave cools. Fix the placement first, then pressure, section size and cooling time.
A clamp mark is not always a sign that the tool is wrong. Most of the time it is a map of what happened: too much pressure at the crown, a skipped overlap in the middle, or a hard stop near the ends.
Diagnostic ladder
- Crease at the crown: start lower on the visible top layer and angle the tool so the first bend is softer.
- Dent in the middle: overlap the next clamp placement with the previous wave instead of leaving a gap.
- Crimped ends: stop before the last few centimetres or use lighter pressure near the tips.
- Flat shiny line: reduce pressure and check whether the section is too thick or still product-damp.
- Marks on fine hair: shorten the hold and let the section cool before touching.
What UK testing and instructions say
British Vogue’s barrel waver guide notes that some wavers can leave clamp marks if you are not careful. That is a technique warning as much as a buying warning.
The BaByliss PRO UK triple-waver instruction booklet gives practical handling ideas such as starting part-way down for a natural look, overlapping waves and changing the top-layer angle. Those timings belong to that specific instruction context, so use them as technique clues rather than universal rules.
Stylist UK’s waver review discusses curved clamp edges in the context of reducing crease lines, but edge shape is not a substitute for careful placement.
The smoother S-wave sequence
- Dry and protect the hair first.
- Clip clean sections so the plate is not overloaded.
- Start mid-length on the most visible top layer.
- Use steady but not crushing pressure.
- Overlap each press to continue the S pattern.
- Let the wave cool, then finger-separate.
Stop conditions
If the same section keeps showing a harsh line, do not keep reheating it. Let it cool, lower the heat if your tool allows, shorten the hold and try a smaller section. If coloured or fine hair starts feeling rough, stop the session and return after reviewing your heat-protection routine.
Related help
If damp product may be causing the mark, start with the heat protectant checklist. If your strands are delicate, the fine-hair waver guide gives a gentler troubleshooting path.
Sources
- British Vogue, barrel waver guide
- BaByliss PRO UK, triple-waver instruction booklet
- Stylist UK, waver review